Part 3Workshop with Hobonichi Staff
After visiting the studio of Carton’s Fuyuki Shimazu, our employees were lucky enough to get the opportunity to take his workshop themselves. Shimazu visited our office to hold a workshop for creating a card case out of cardboard. Here’s a look at how things went.
We all brought our favorite cardboard to use for the workshop, including the boxes used for the Hobonichi Techo and other Hobonichi goods as well as boxes for oranges, persimmons, and even smoked salmon.
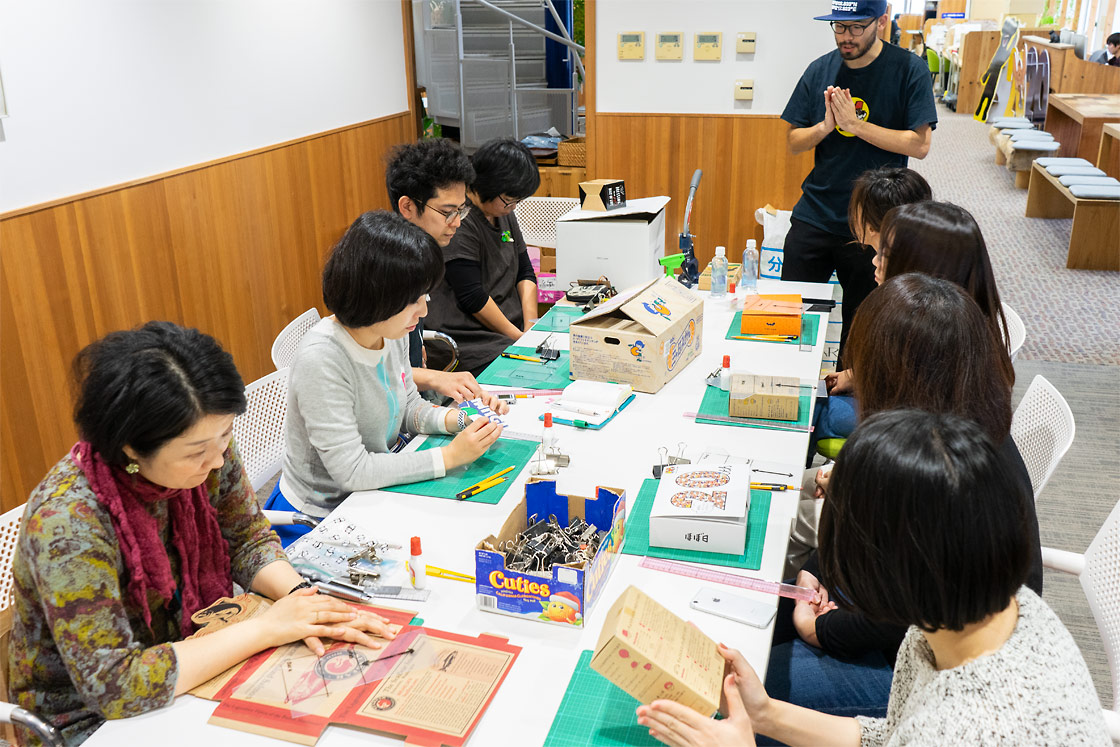
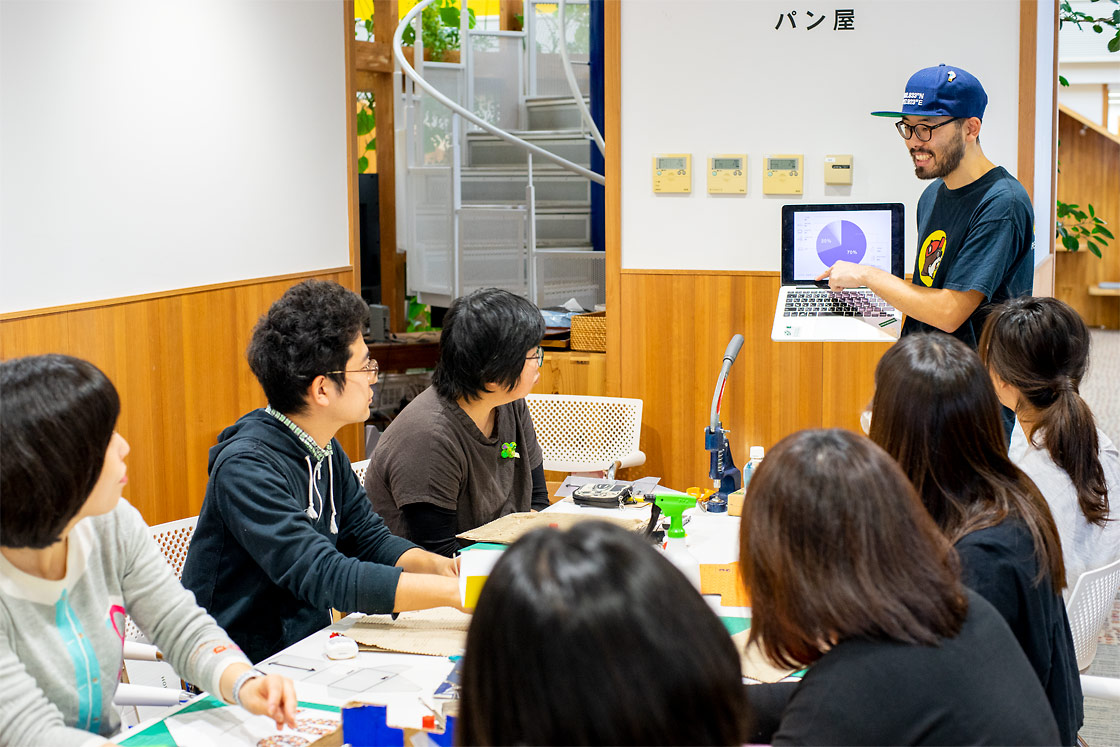
Everyone got to work as we listened to Shimazu’s instructions.
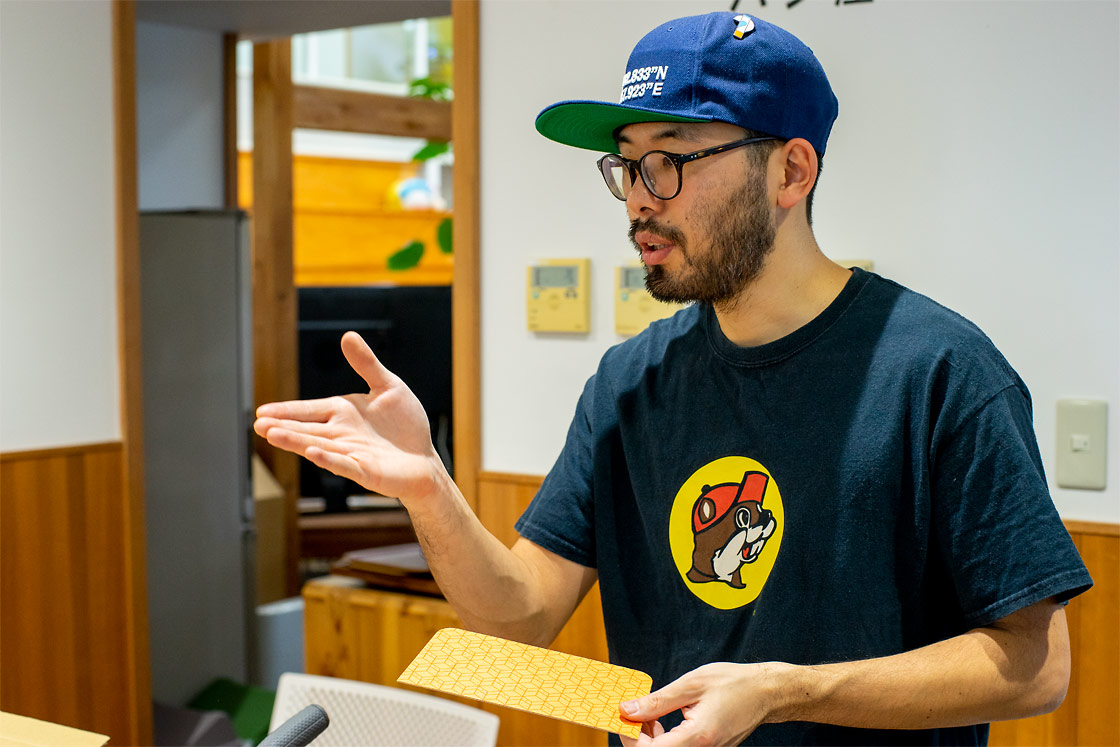
Shimazu: Nice to meet you. I’m Shimazu. Today we’re going to make a card case. By storing your business cards in a homemade cardboard card case, you’ll spark up conversations all the time — people will always be curious when you pull it out.”

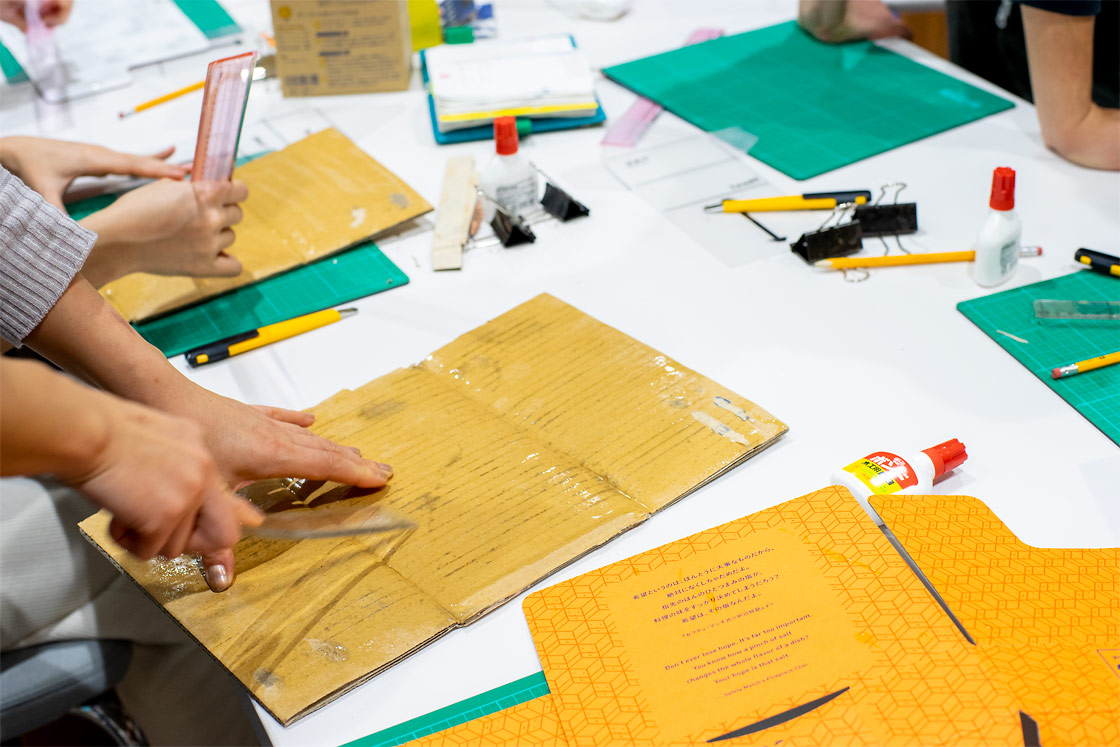
Here are the tools Shimazu brought for us to use. There’s a cutting mat, a precision knife, a ruler, a pencil, some glue, two large binder clips, and a custom-made template. The template is labeled “front” and “back” and includes arrows to show the direction of the cardboard placement.
After Shimazu went through the explanations, we broke down all the cardboard boxes and carefully lined up which part of the box designs we wanted to use for a card case.
This pair shared a large cardboard box between themselves. The box was all white with only “1101.com” and “Hobonichi” printed on it, so the simple design seemed perfect for a stylish case.
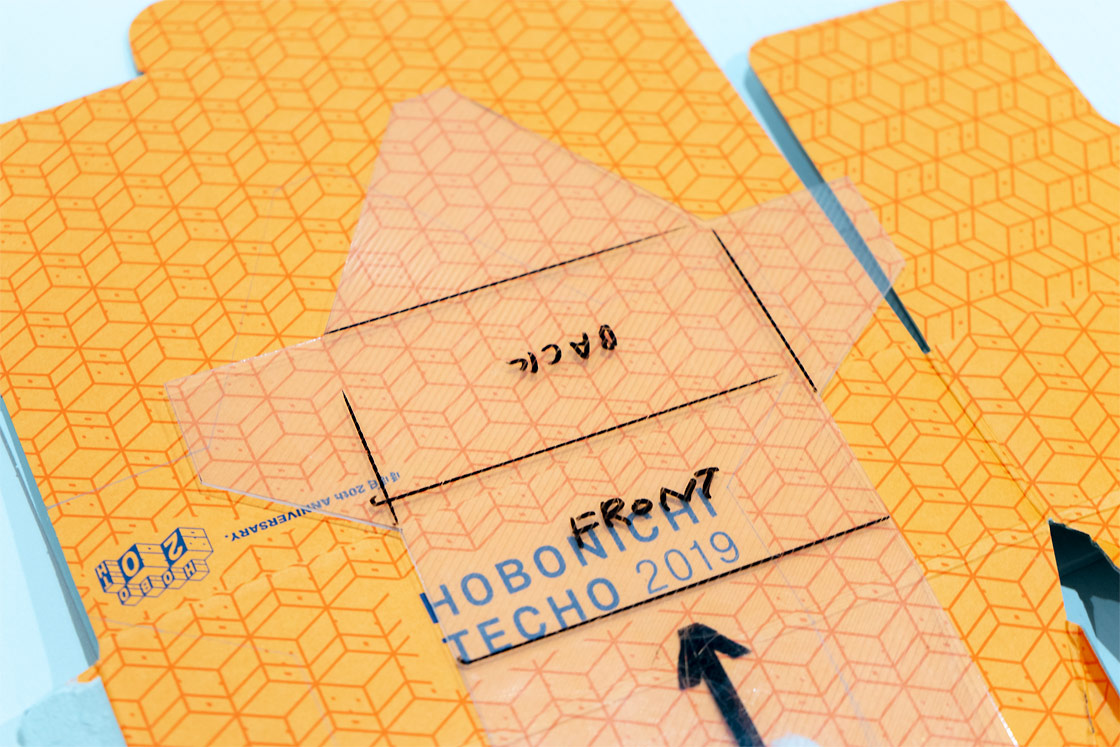
This is what it looks like to line up the template against the Hobonichi Techo box. In this alignment, the Hobonichi Techo 2019 logo would appear on the front of the case.
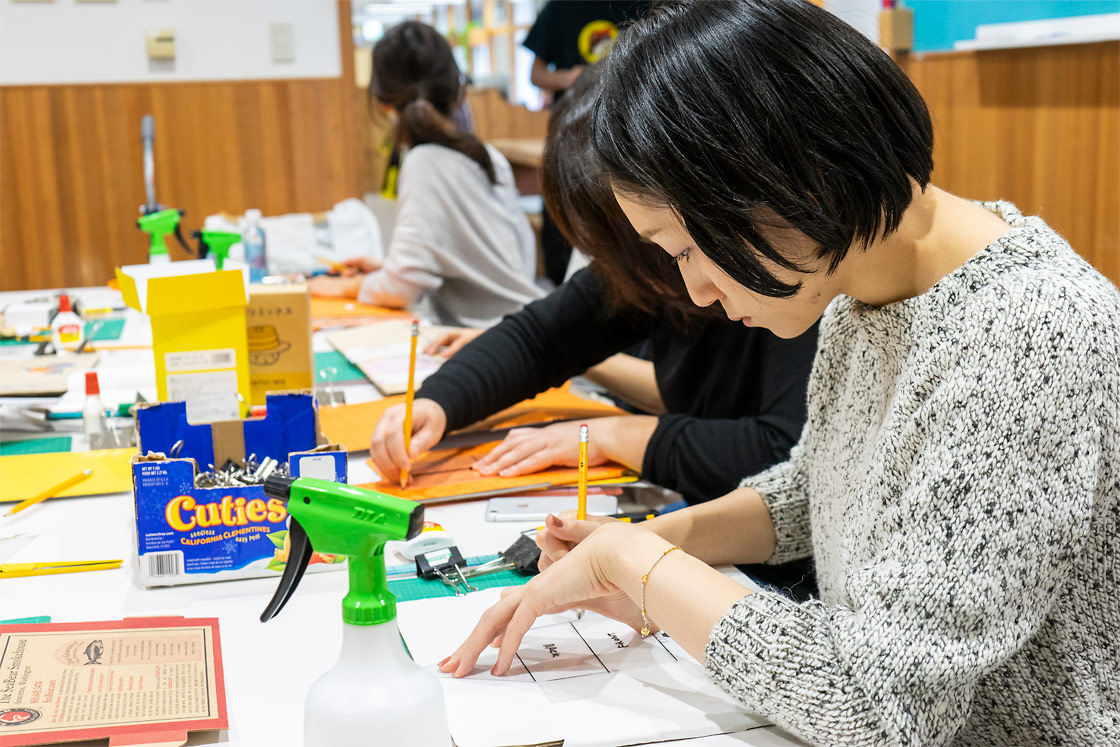
Once the placement for the template is set, everyone traced its lines with a pencil.
Next, Shimazu shows us the steps.
“It’s hard to cut thick cardboard, so we’re going to peel off the “flute,” or inside of the cardboard, and thin it out. Dampen the cardboard with some water and scrape at it with the ruler to make it easier to peel.”
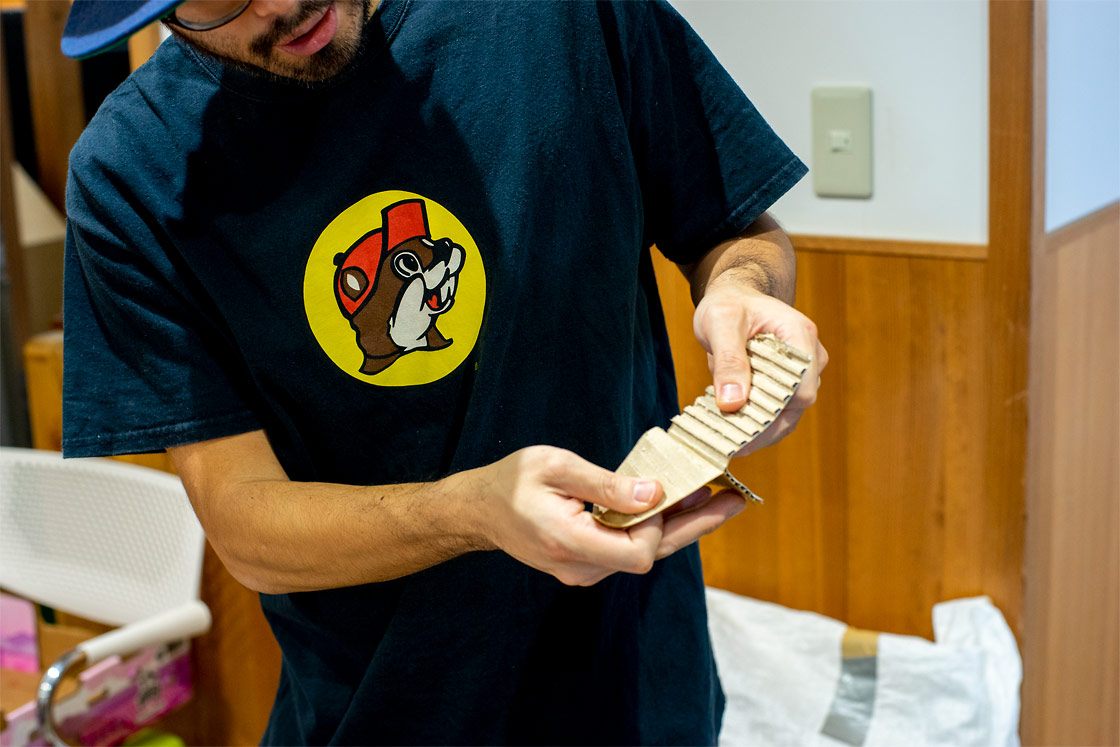
The card case will only use the outer layer of the cardboard, which feels really cathartic to peel off if you can do it well.
Once we dampen the cardboard with a water bottle, we take the ruler and push down the cardboard along the lines until the lines stick out. That indicates that we can now easily peel off the cardboard.
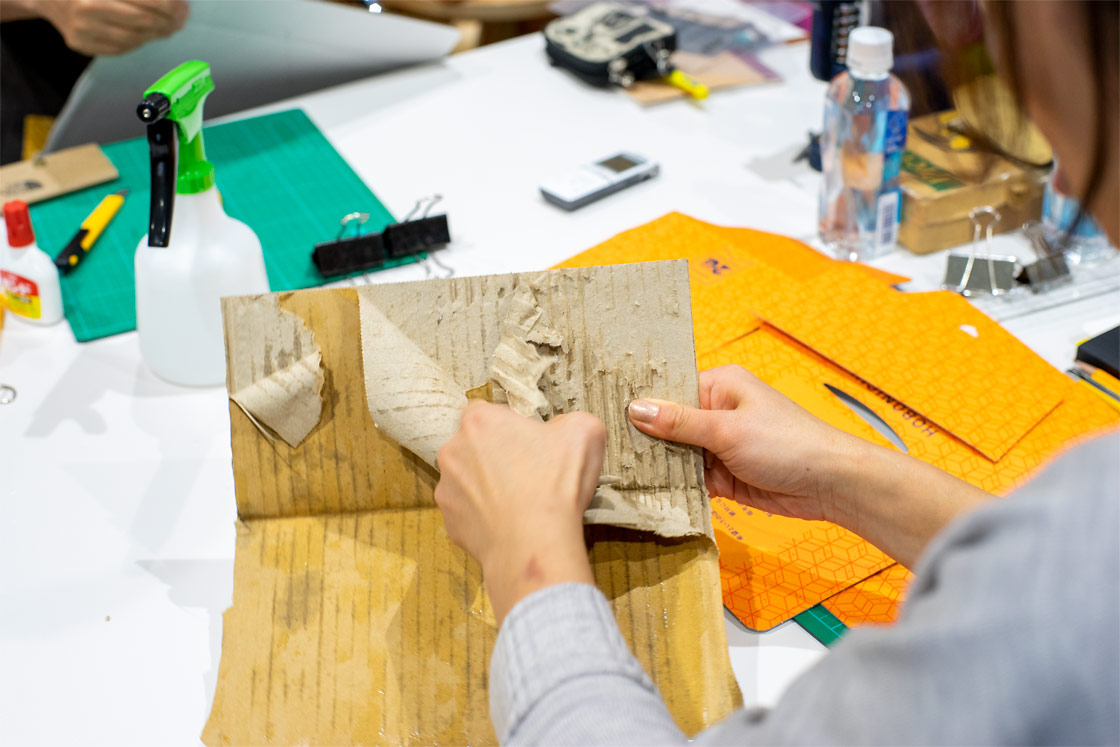
Hobonichi staff followed suit and peeled away at the cardboard. We were hesitant at first, but gradually got used to it and peeled with more confidence.
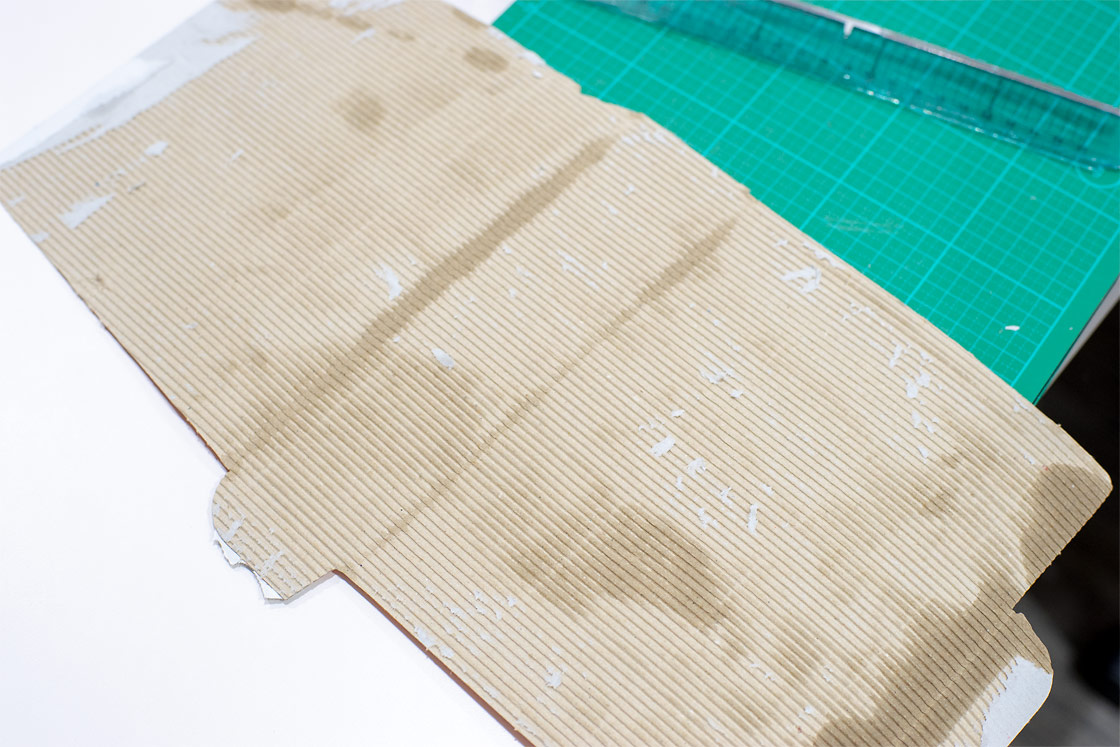
Here’s a look at a box that’s been peeled away to thin the cardboard. Apparently the extent to which the cardboard is peeled away demonstrates someone’s personality. Even if there are some spots left over, this peeled layer ends up on the inside, so it’s not a problem.
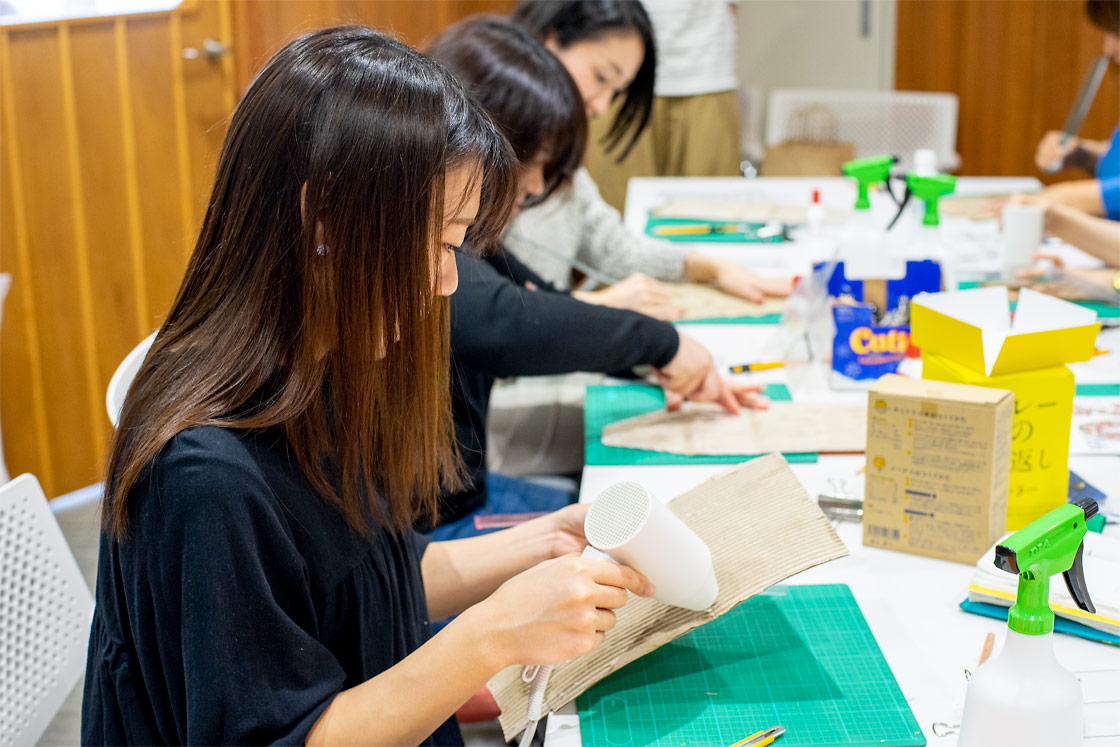
We were instructed to dry the cardboard with a hair dryer if it was still wet.
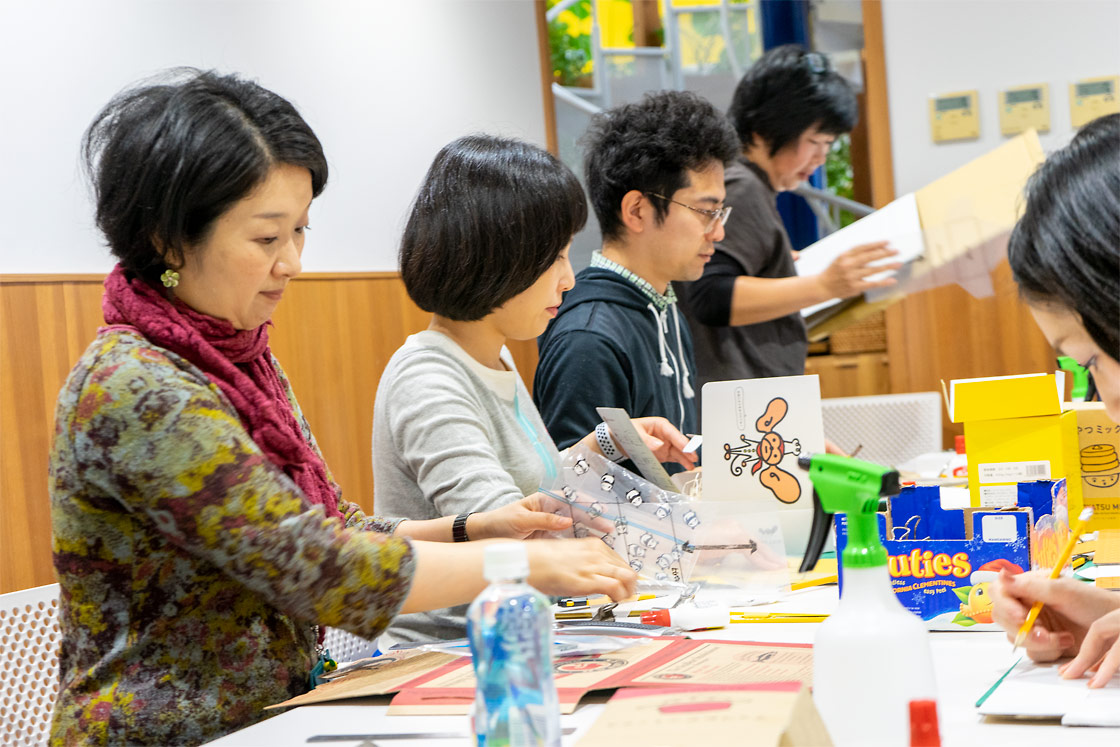
As we waited for the cardboard to dry, Shimazu taught us all about the different types of cardboard boxes he has encountered as he’s traveled across 30 countries picking cardboard.
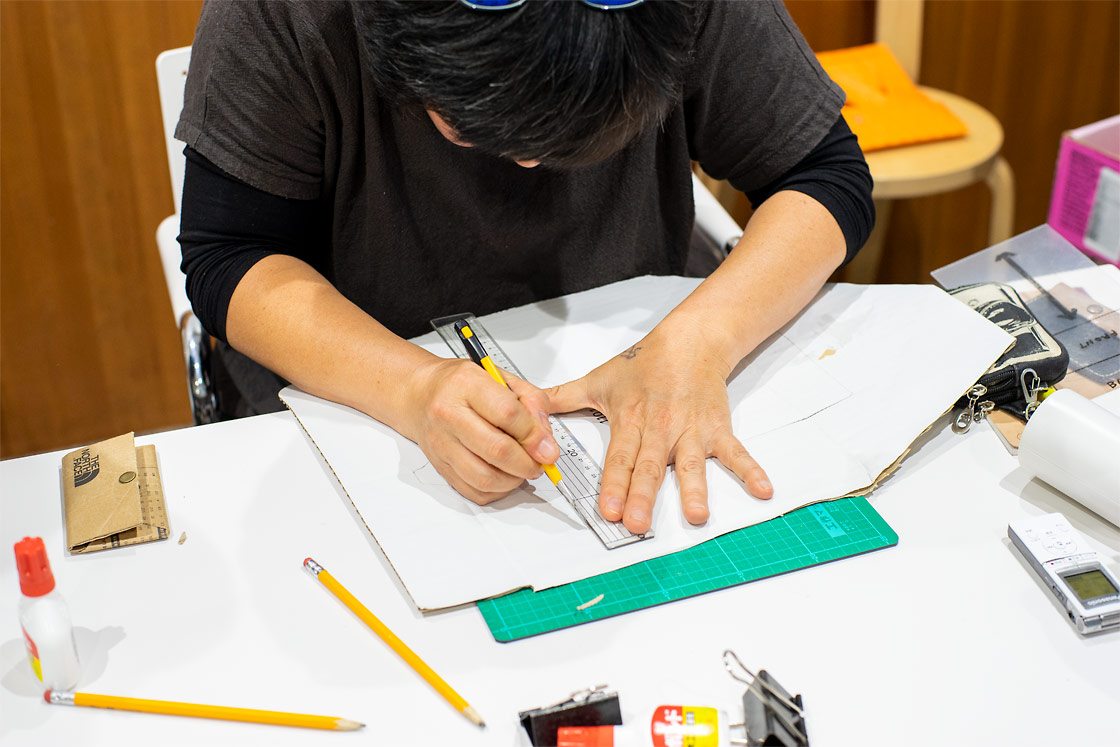
We cut out our cardboard pieces around the traced pencil lines we drew earlier.
Hobonichi staffer Mitsui is already well-acquainted with precision cutters, so she cut out her design with great ease.
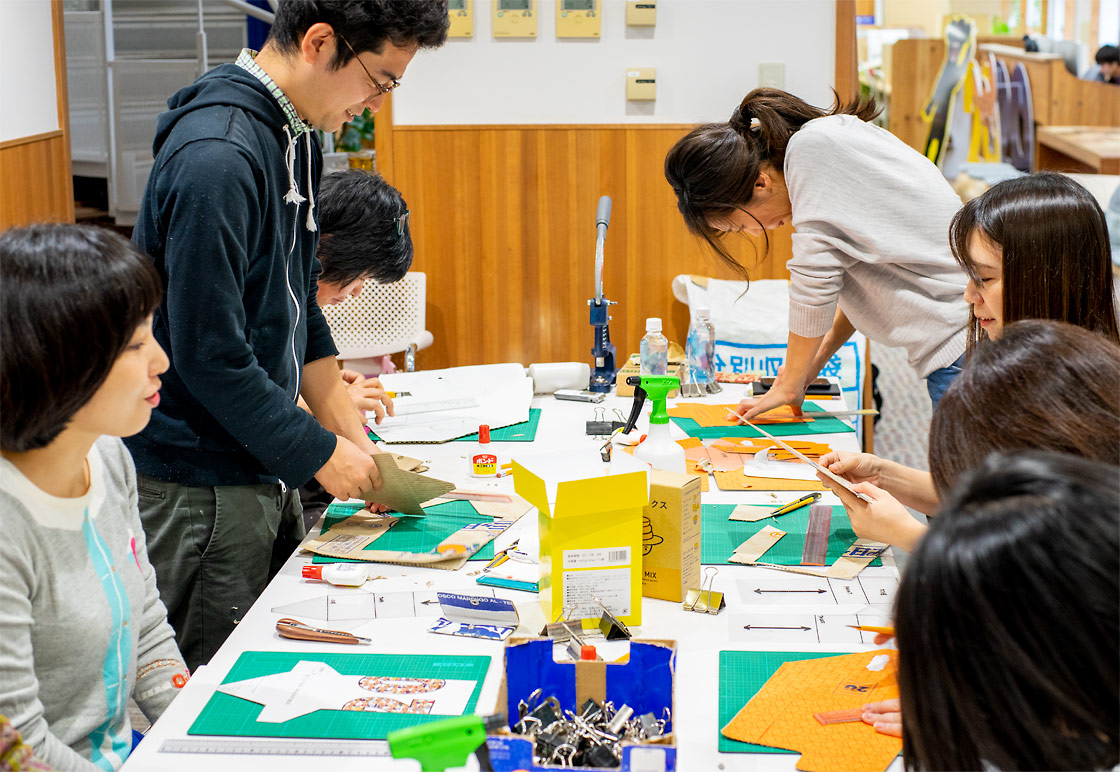
Everyone had their own personal way of holding their tools and cutting the cardboard. Hirano and Sugiyama preferred to cut while standing up. The process wasn’t too detailed, so even those unaccustomed to crafting tools and handiwork were able to keep up.
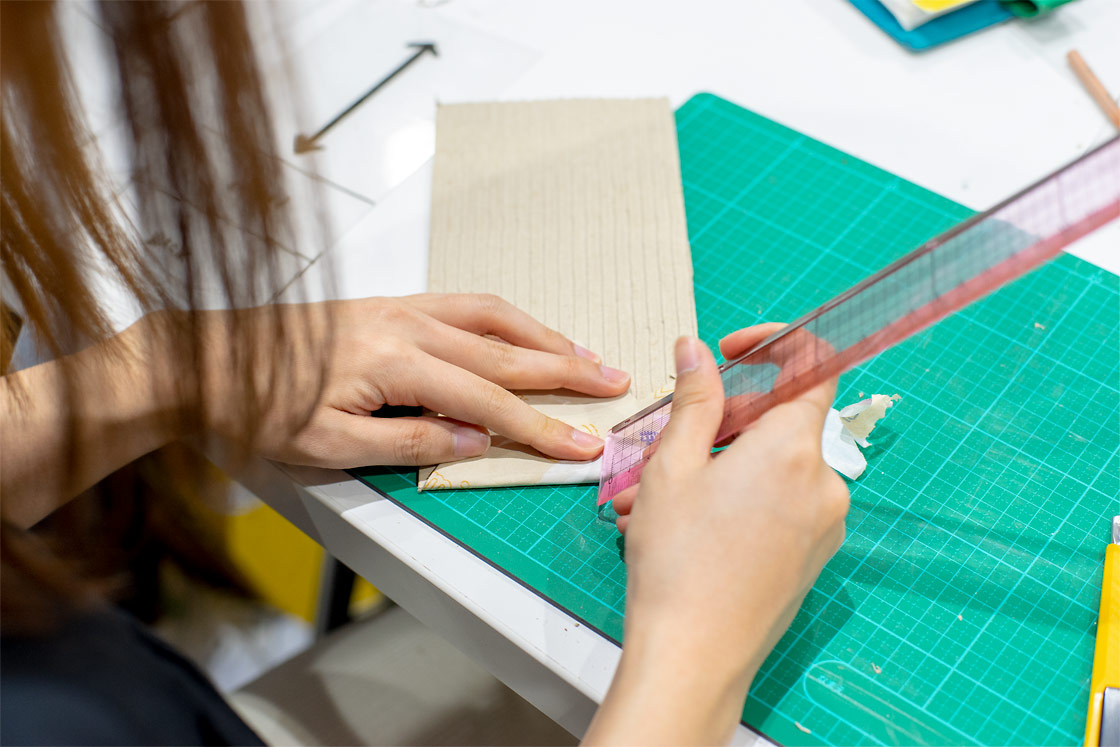
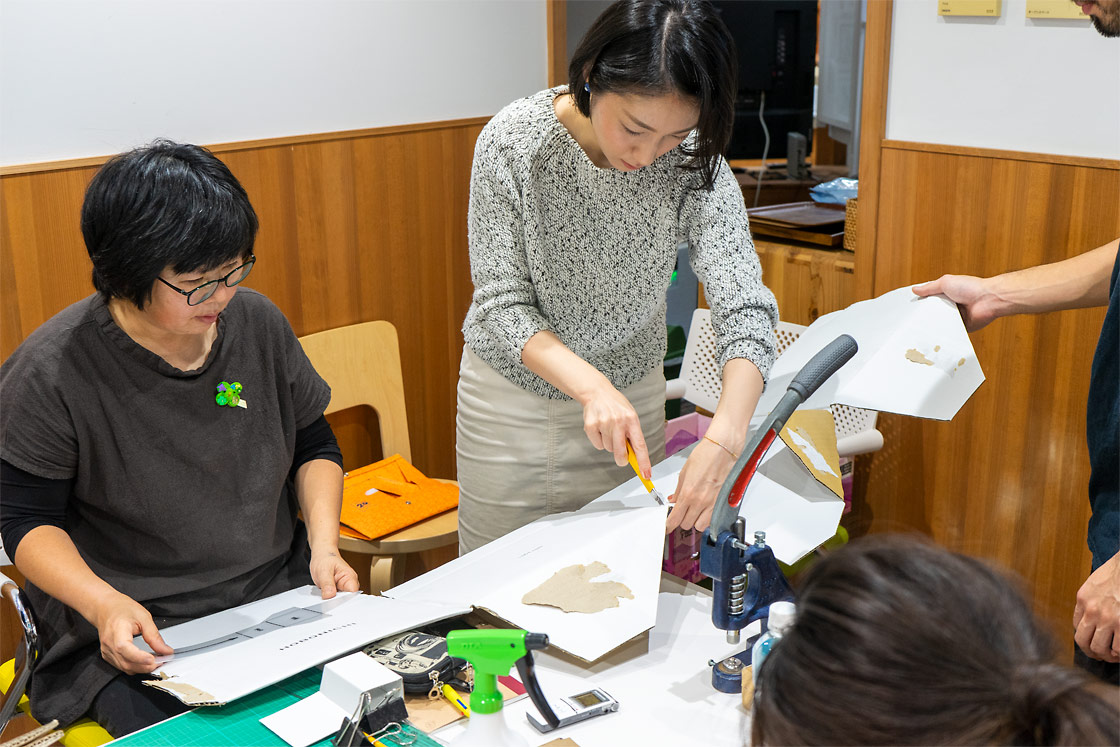
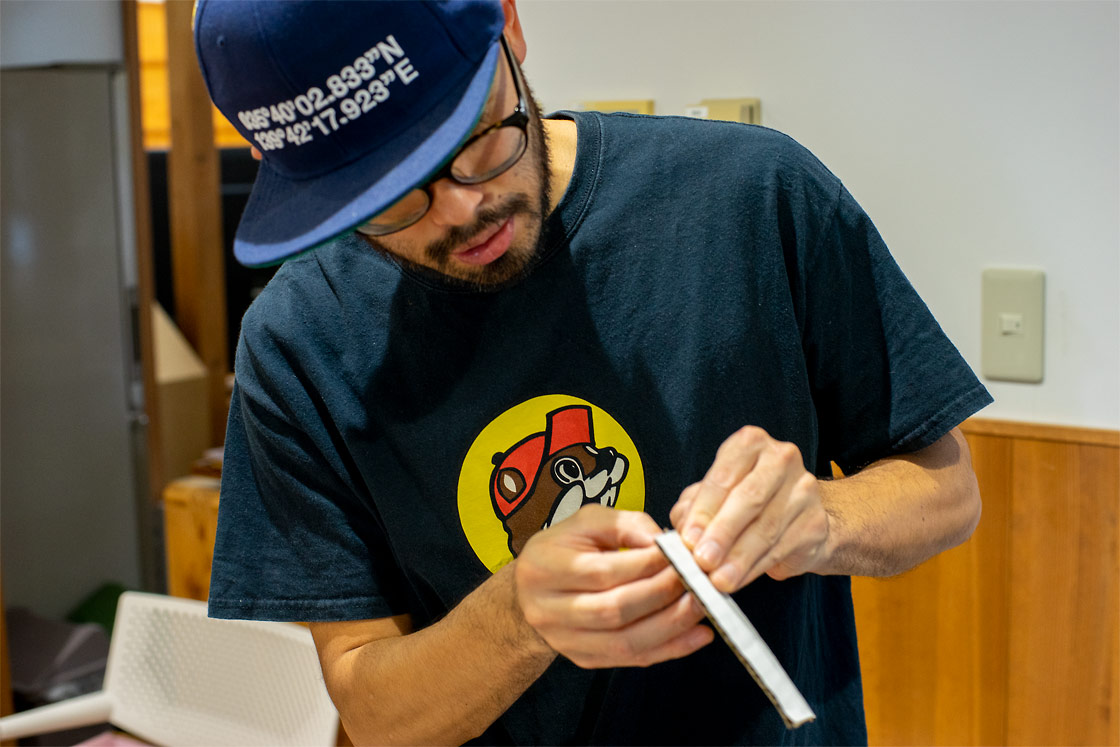
Once we cut the cardboard out to match the template, we folded the piece into the shape of the card case. We followed Shimazu’s instructions as we folded, making sure to hold the ruler down as a folding guide.
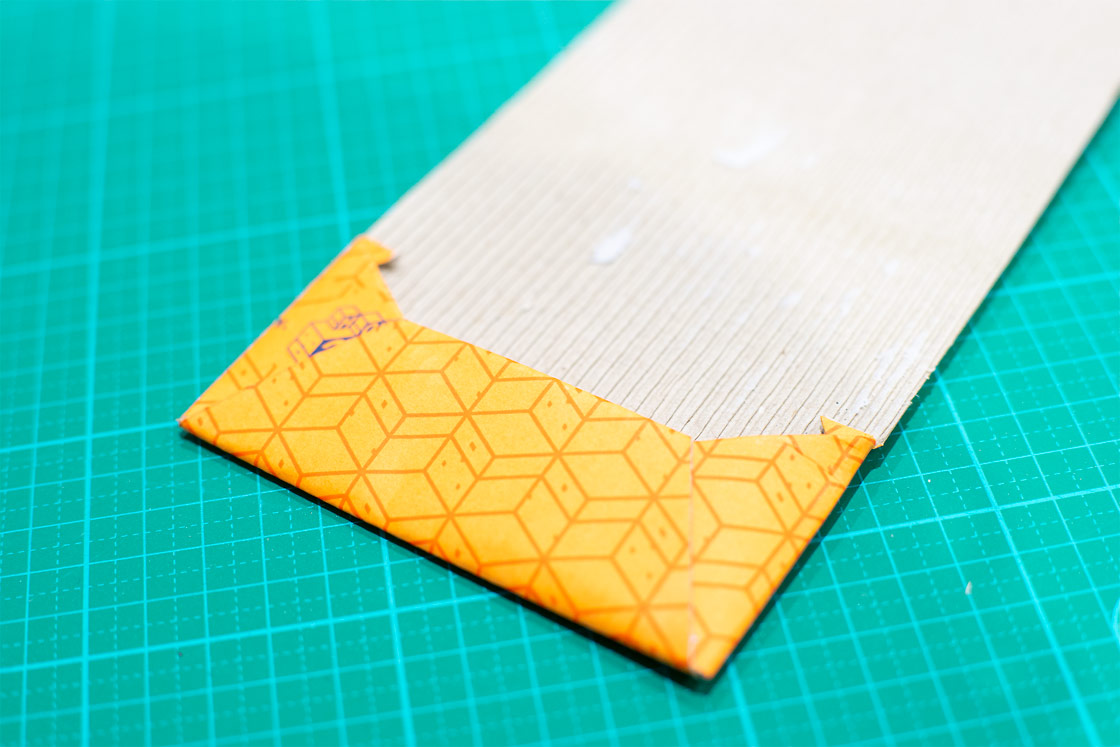
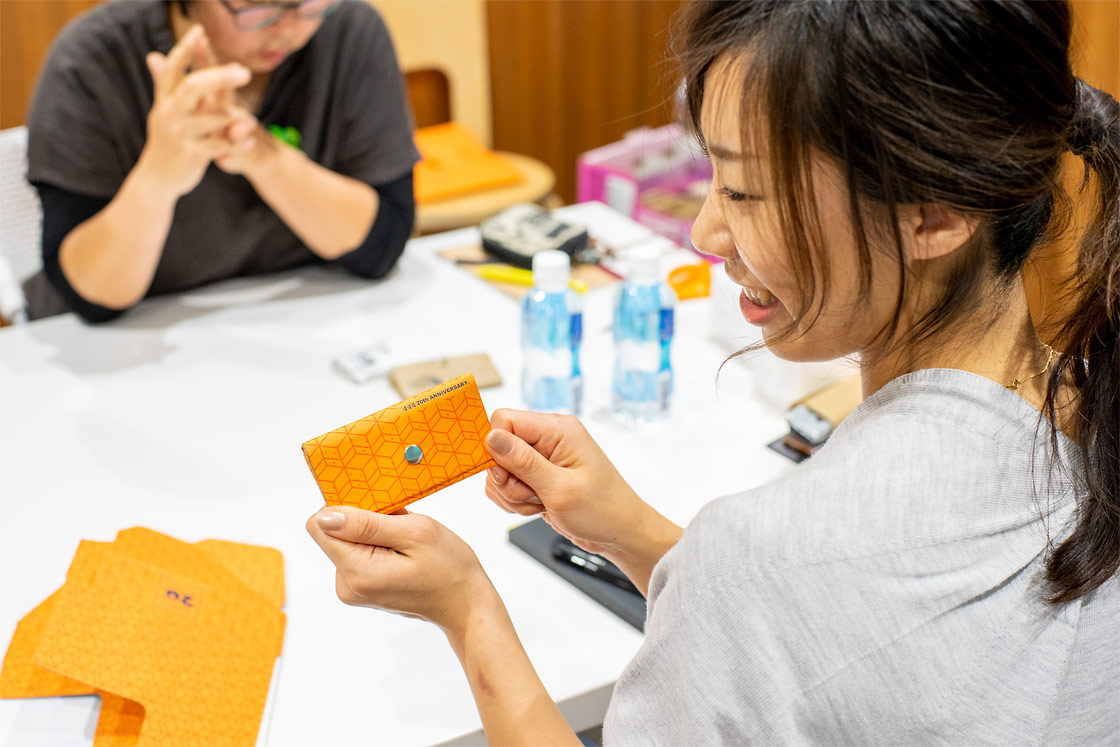
We got a bit further along in the construction process before taking another break. The case we made with the Hobonichi Techo shipping box was turning out really cute, because the design covered the entire surface.
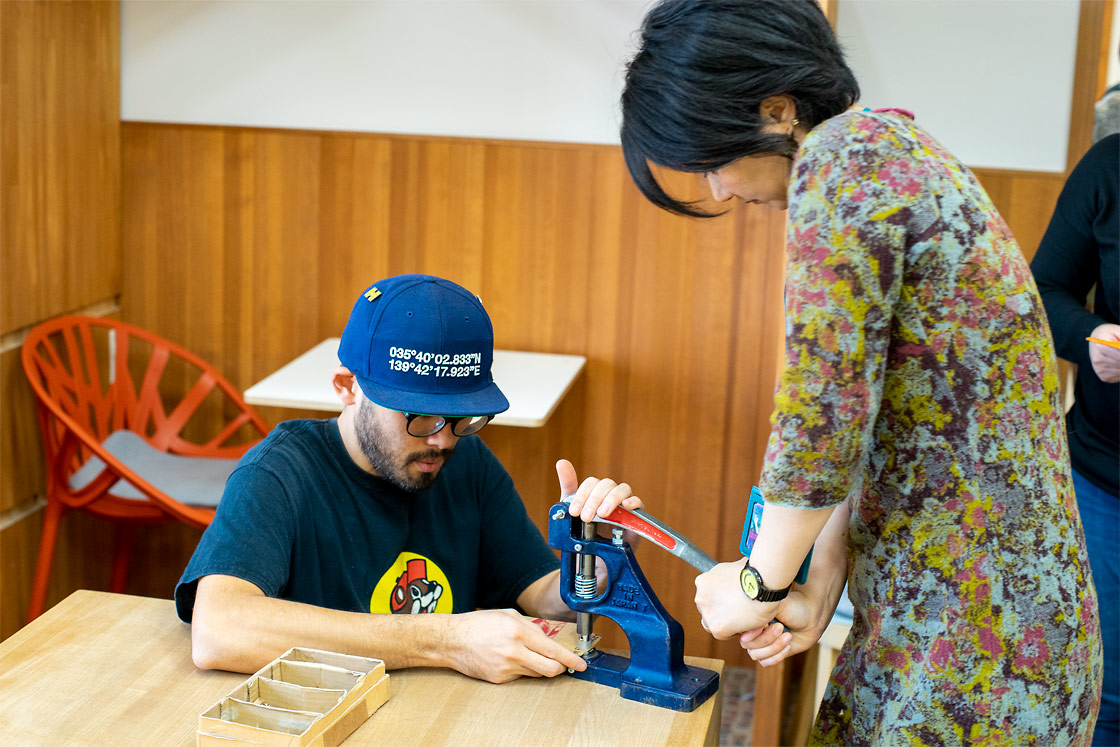
Next we applied the snap-button clasp using the hand-press machine Shimazu brought.
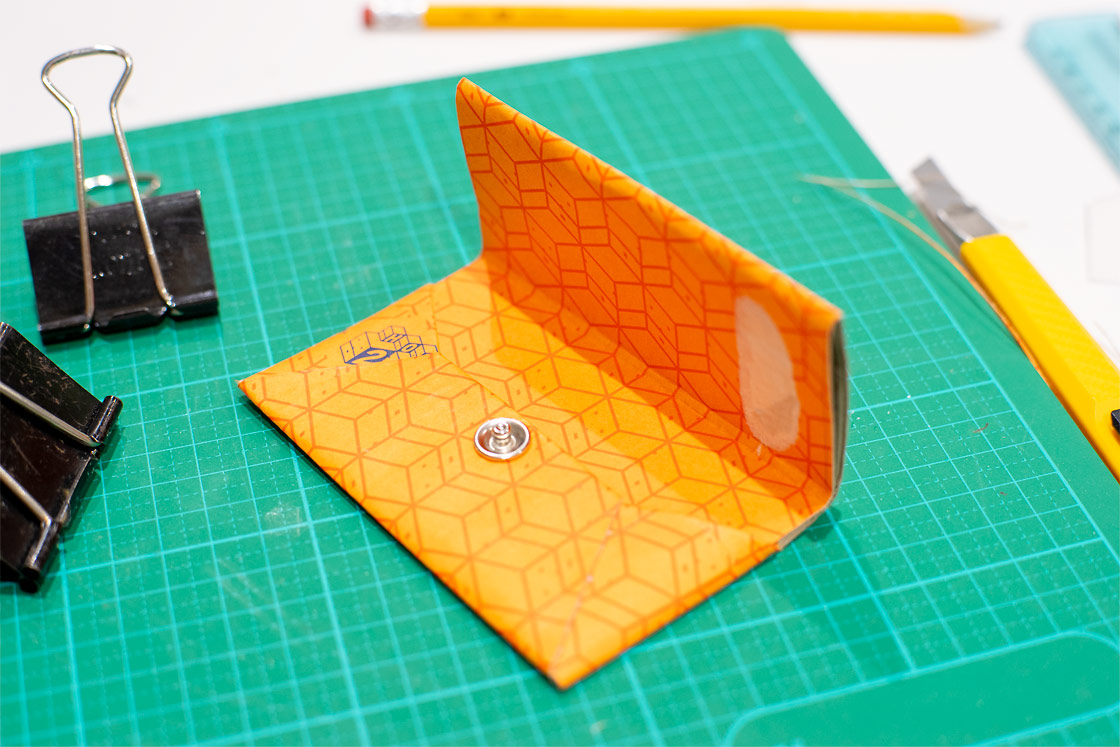
Here’s how the case looks with the button attached.
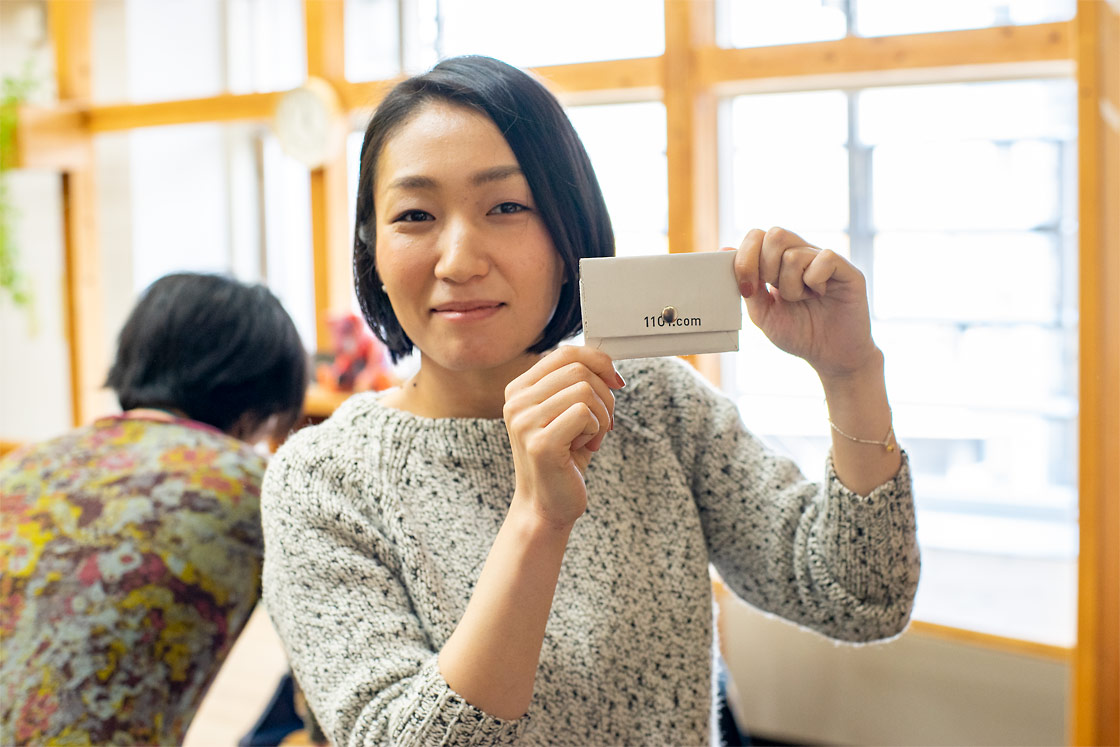
The outer half of the snap button is applied, and the card case is ready! In total, the process took about an hour.
Here’s a look at the completed card case made with the Hobonichi Techo shipping box. With this polished of a look, it almost looks like an official Hobonichi Techo card case, but of course it’s just a handmade item.
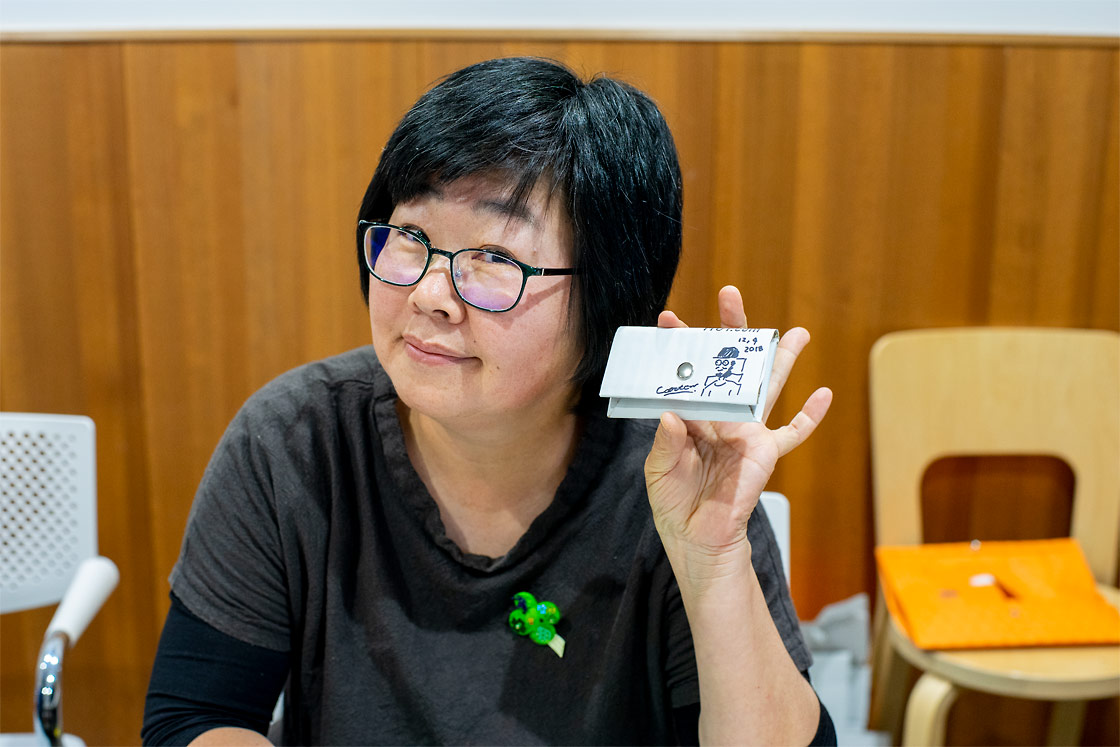
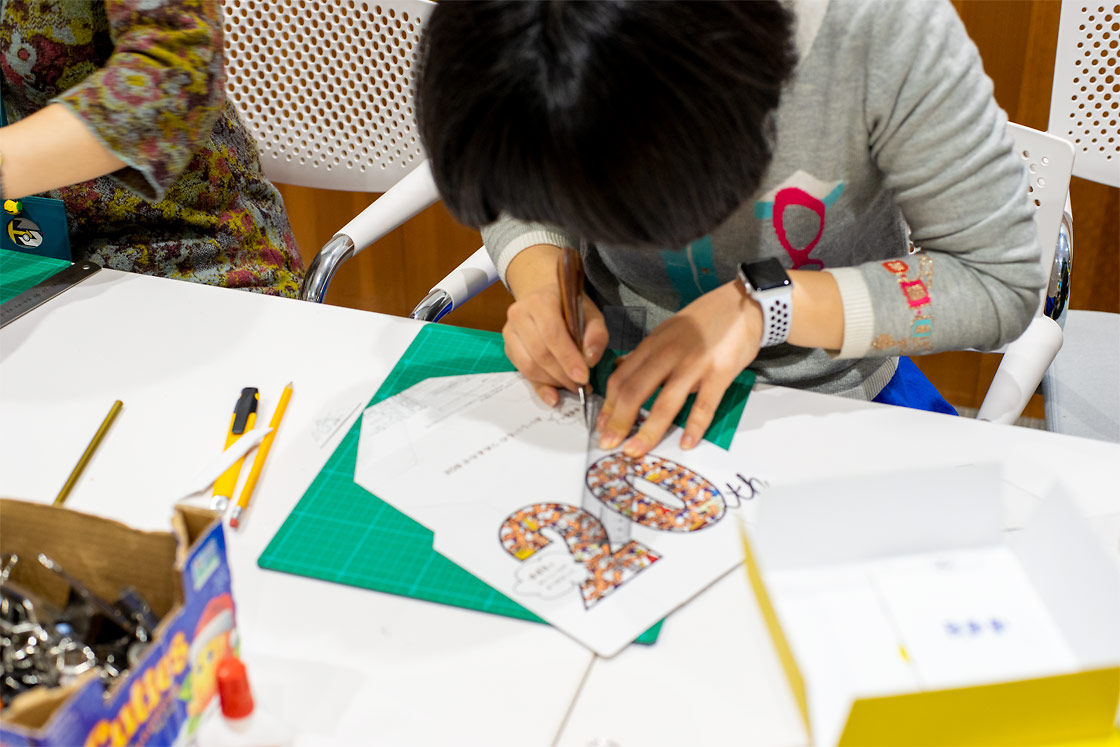
Staffer Kusao, who used the white box, had Shimazu sign her card case. One of the great things about using cardboard as a material is how easy it is to draw whatever you want on the surface.
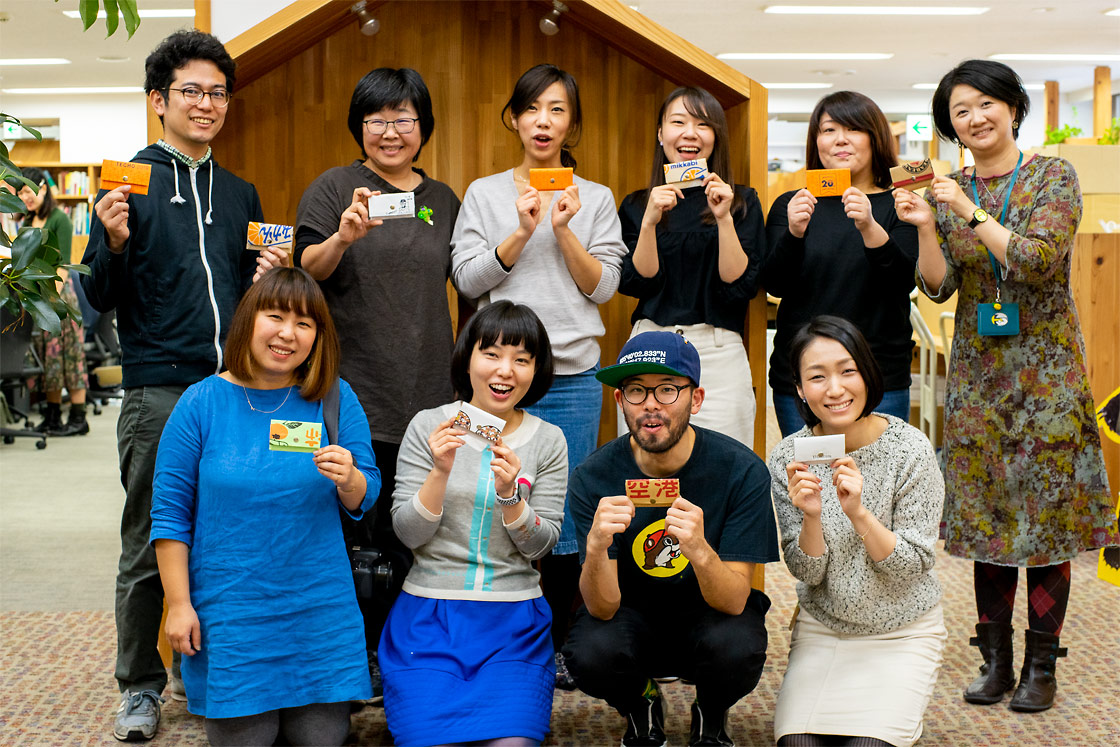
Here’s a group picture commemorating the Hobonichi staff workshop, with everyone holding their card cases. We all showed off our cases and admired each other’s work. We had a great time! The process is easy enough that children could enjoy it, and it was wonderful being able to chat as a group as we worked. Even people who worked with the same cardboard box had different results as they traced around and cut out different parts.
Shimazu’s workshops are held at art museums, outdoor events, exhibitions, and many other places. See the Carton official website for more information.
(End)